The boys and I are planning a little neighborhood bike parade next week and decided we needed something to wear. I just adore Cheri at I Am Momma - Hear Me Roar (although she doesn't have the foggiest idea who I am - Oh well). She has two boys (like me) and does the most amazing crafts. Like this "All by Myself Tee" using freezer paper stencils.
Freezer paper stencils seem to be all the rage right now on Pinterest, so I decided to use Cheri's tutorial and let the boys go for it. I had a little trouble finding freezer paper that wasn't in such a giant package. WalMart only carried 150 square foot boxes. We ran into one of Dillon's preschool teachers while we were looking and she suggested asking the butcher for a piece. Good idea, except they don't use it at WalMart. I did find a 75 square foot box at Albertson's. Not quite so big, but I guess will be doing some more stencilling soon. And it was pretty easy.
Here's how we did it.

First, I pulled out my Cricut and let the boys pick a design they liked. Parker chose a bike and Dillon a camper. I cut the paper to the right size and loaded it into the Cricut shiny side down.
Next, iron on the paper to your shirts. I found these at WalMart for $1 on clearance. I bought about 10 of them a few months ago. They are typically about $3.50, still a great deal. The wax coating on the shiny side will make the stencils stick to the shirt, but peal off easily later. Make sure that shiny side is down again.
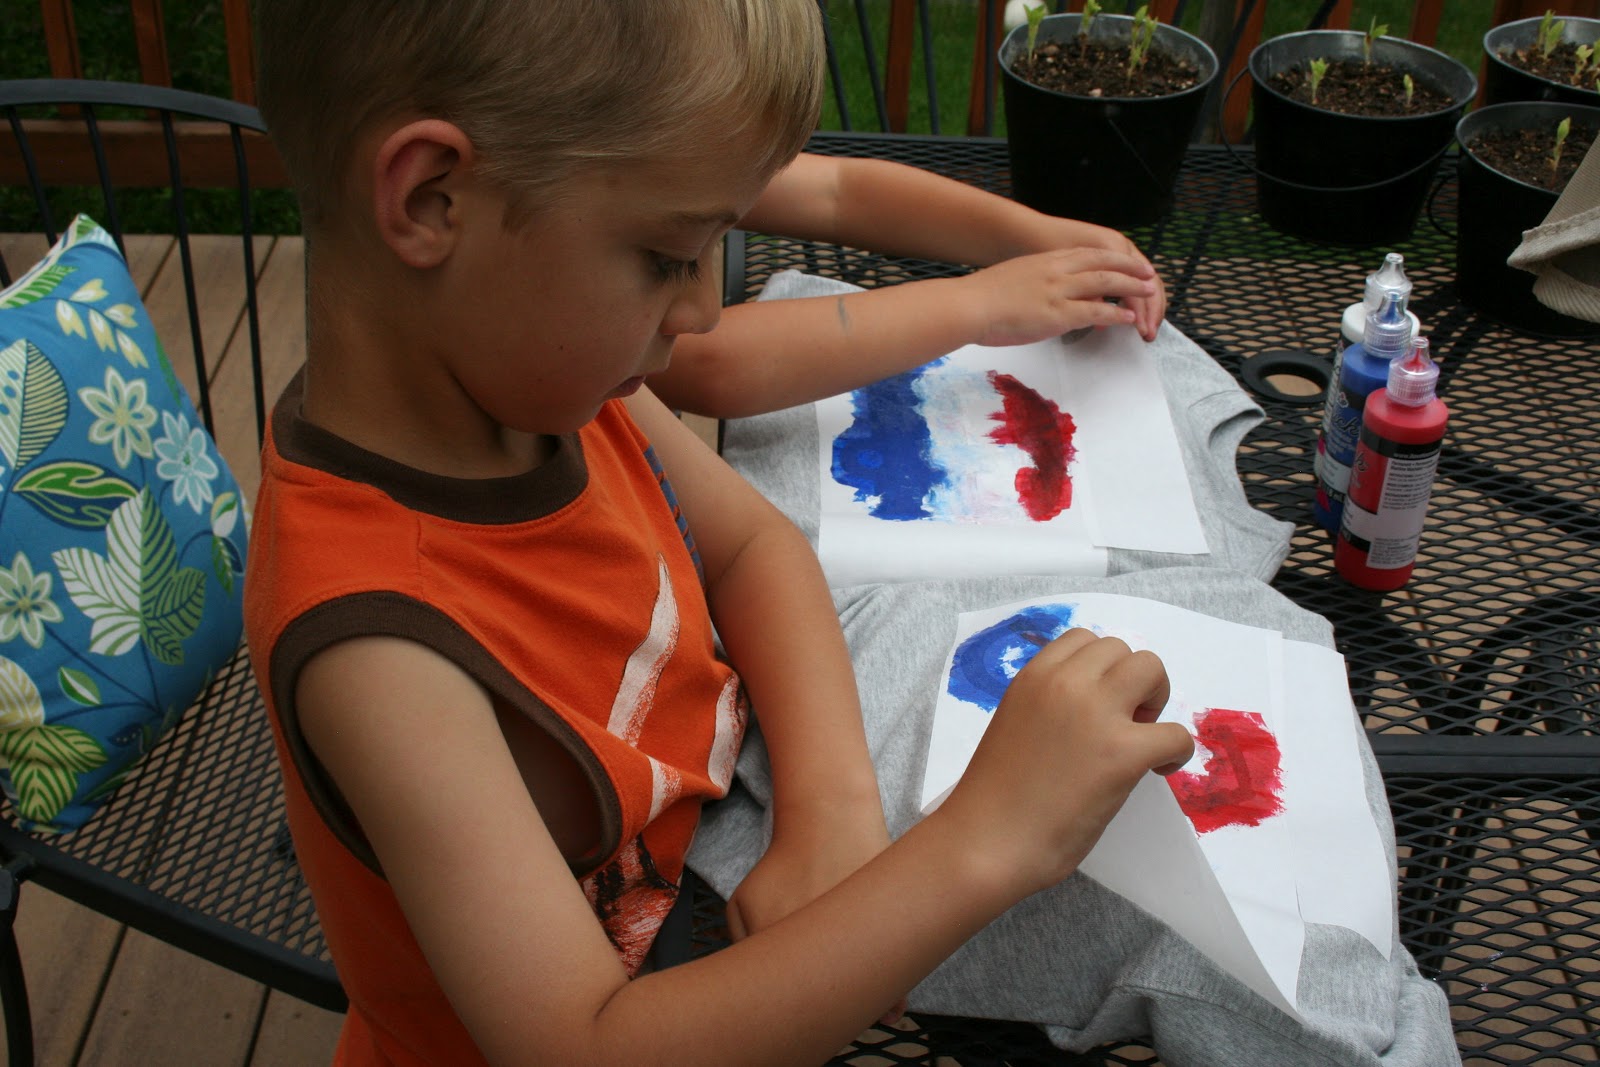
I surrounded the edges of the stencil with scraps of the freezer paper, so we didn't have any oops problems with the paint. After all, my painters are only four and five.
Put something inside the shirt - some cardboard or something. I used plastic cutting boards, which wasn't the best idea, since I did get a little that bled through. Next time I'll put the cutting boards inside a plastic shopping bag.
The boys just went for it with the red, white and blue fabric paint (we used Tulip Slick paint). I found sponge brushes worked the best, so the paint didn't leak under the stencil. Just have the kiddos use a dabbing method with the brush.
When they're done painting, the shirts will look like this (sorry, I didn't get a pre-paint picture).

When they're dry, let the kids peal off the paper. It was a little tricky and the kids ended up letting me finish (probably because they were busy watching Phineas and Ferb while the paint was drying).


Yay! They turned out great. I especially like the camper one. So fun! Thanks for sharing this with me!
ReplyDeleteCheri